Part 9
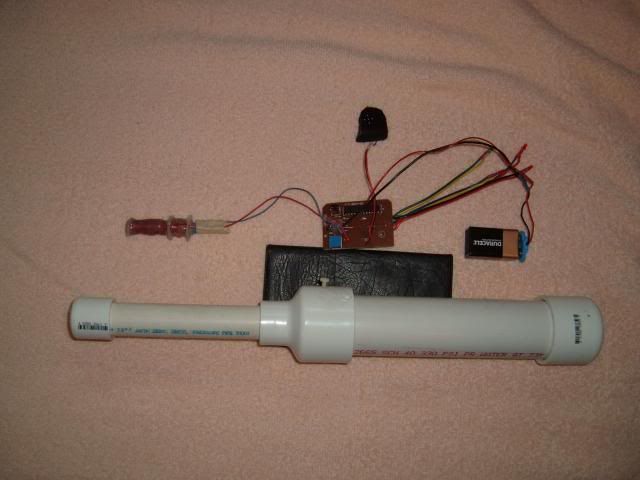
This picture shows how the electronics sit inside the PVC.

Now put the PVC parts together except the bell reducer to the 1 1/2" pipe.
Slide the electronics into the pipe.
Now it's time to tune the coil. Here's the steps. you will need a small screwdriver, penny, dime, and a quarter.
1. Make sure the coil is clear on all metal objects including you watch and rings.
2. For a starting point turn the adjusting screw on the blue resistor 1 1/2 turns count-clockwise.
3. Press and hold the push bottom switch. The green LED and the #3 LED light and the buzzer will beep.
The red LED and the buzzer will go off (green still on.)
4. Take one of the coins and bring it close to the coil. As the coin gets closer to the coil the LED's will light
in sequence, 1, 2, and 3. Do this with each coin.
5. If the LED's do not light or the range is to short, keep adjusting the coil. To do this turn the adjusting screw 10 complete
turns clockwise. Repeat step 3 each time you make an adjustment. Turn the screw 1/4 of a turn count-clockwise.
Then repeat step 3. Keep making the 1/4 turn adjustments until you get the results in step in step 4.
End of part 9
I know the parts list doesn't match 100% but I can't edit the previous post.
Something's your going to have to figure out yourself - expand your brain.
Good Luck
This picture shows how the electronics sit inside the PVC.

Now put the PVC parts together except the bell reducer to the 1 1/2" pipe.
Slide the electronics into the pipe.
Now it's time to tune the coil. Here's the steps. you will need a small screwdriver, penny, dime, and a quarter.
1. Make sure the coil is clear on all metal objects including you watch and rings.
2. For a starting point turn the adjusting screw on the blue resistor 1 1/2 turns count-clockwise.
3. Press and hold the push bottom switch. The green LED and the #3 LED light and the buzzer will beep.
The red LED and the buzzer will go off (green still on.)
4. Take one of the coins and bring it close to the coil. As the coin gets closer to the coil the LED's will light
in sequence, 1, 2, and 3. Do this with each coin.
5. If the LED's do not light or the range is to short, keep adjusting the coil. To do this turn the adjusting screw 10 complete
turns clockwise. Repeat step 3 each time you make an adjustment. Turn the screw 1/4 of a turn count-clockwise.
Then repeat step 3. Keep making the 1/4 turn adjustments until you get the results in step in step 4.
End of part 9
I know the parts list doesn't match 100% but I can't edit the previous post.
Something's your going to have to figure out yourself - expand your brain.
Good Luck
