I decided to put some .220 plexiglass on the bottom of my SEF coil cover and then epoxy the cover to the coil. This was a lot of work but well worth the effort for me.
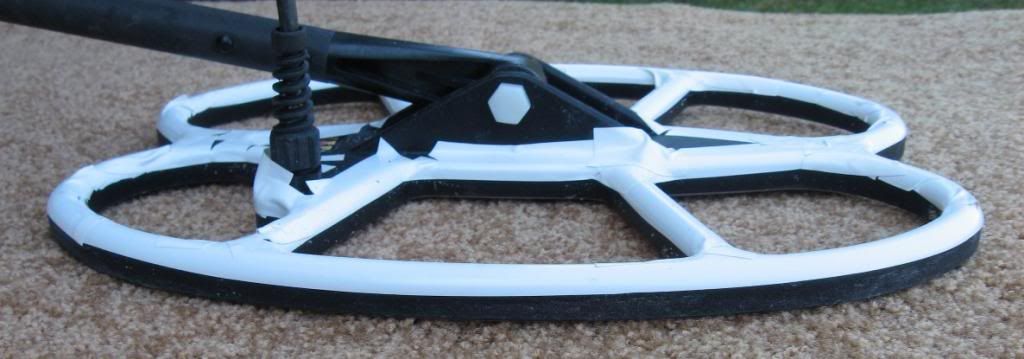
Here is a pic of the coil all taped.
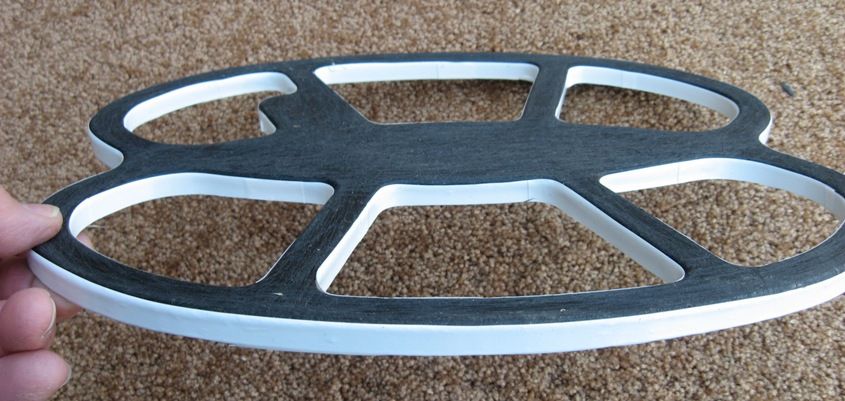
The coil cover is now taped on both the inside and outside edges.
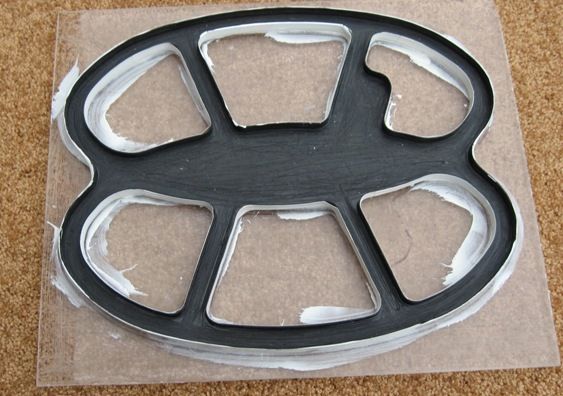
Above we now see the cover epoxied onto the oversized piece of plexiglass. Both the plexiglass and coil cover have been sanded using a very coarse paper. This is a very important seep.
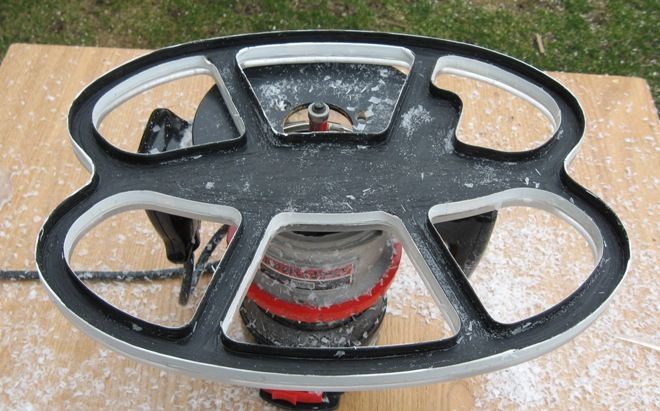
After the epoxy has set, I used a router to trim the inside and outside of the plexiglass. I was very pleased with the results of this step.
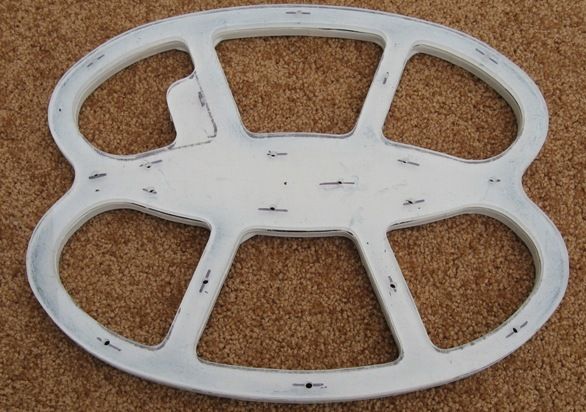
5/32" holes were drilled at these locations so no air could get trapped and cause a void between the coil and cover.
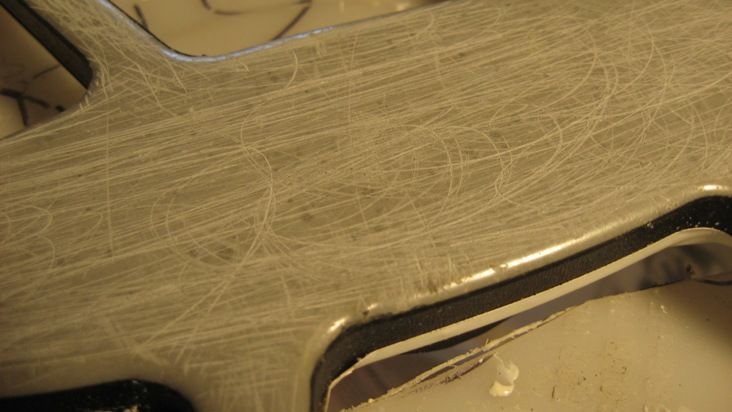
I now scuffed the bottom of the coil using the same very coarse paper. The inside of the cover was also scuffed when the cover was worked on.
Epoxy was then applied to both the inside of the cover AND also the bottom of the coil itself. I than put the cover on the coil and put some lead weight in cans to compress the cover to the coil.
I used one tube of epoxy for the plexiglass step and two tubes for doing the cover to the coil.
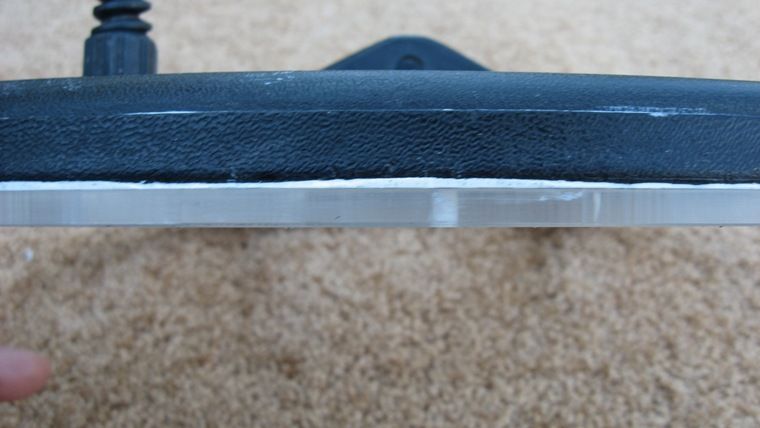
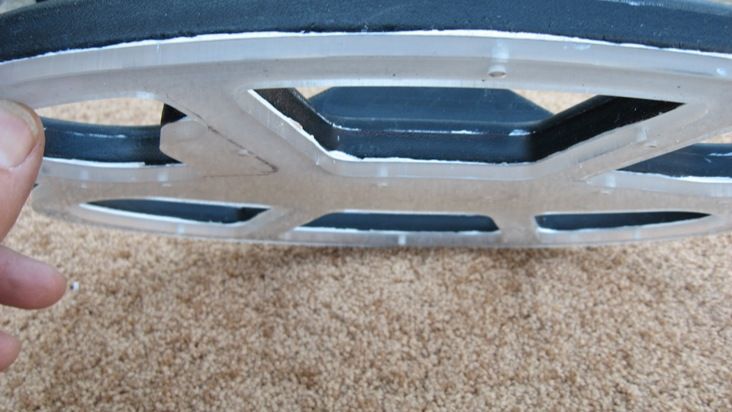
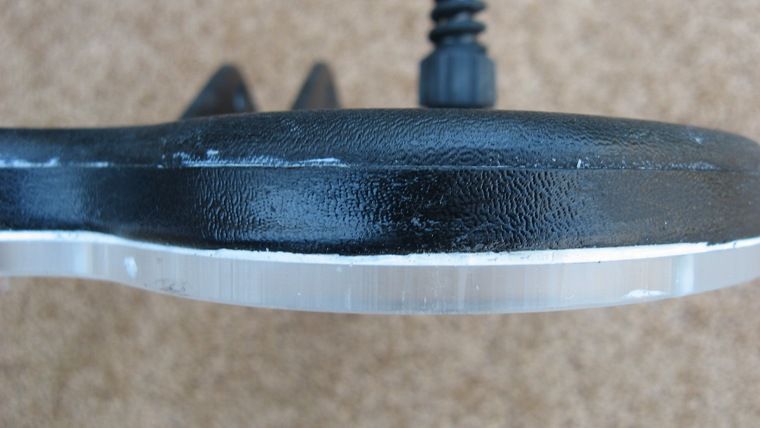
The above three pics are of the edge of the completed project.
Thanks for looking.

Here is a pic of the coil all taped.

The coil cover is now taped on both the inside and outside edges.

Above we now see the cover epoxied onto the oversized piece of plexiglass. Both the plexiglass and coil cover have been sanded using a very coarse paper. This is a very important seep.

After the epoxy has set, I used a router to trim the inside and outside of the plexiglass. I was very pleased with the results of this step.

5/32" holes were drilled at these locations so no air could get trapped and cause a void between the coil and cover.

I now scuffed the bottom of the coil using the same very coarse paper. The inside of the cover was also scuffed when the cover was worked on.
Epoxy was then applied to both the inside of the cover AND also the bottom of the coil itself. I than put the cover on the coil and put some lead weight in cans to compress the cover to the coil.
I used one tube of epoxy for the plexiglass step and two tubes for doing the cover to the coil.


The above three pics are of the edge of the completed project.
Thanks for looking.


